This tutorial is designed to give you an in-depth overview of the “Services LIVE” feature from Planning Center Online. This tutorial assumes that you have a basic understanding of Planning Center Online (PCO), and does not cover typically-used functions of PCO, such as scheduling, adding people, creating services types and creating/editing templates.
Planning Center Live (PCLive) is one of the least used features from PCO, but is probably one of the best and most useful features that is provided. In it’s most basic form, it’s a tool designed to keep a record of services time and allows users to keep track of where they are within the service. It doesn’t really get much more complicated than that, but it does offer a lot more features that connect users and keeps those user operating a high level of efficiency. So let’s dive right in and take a look at what Planning Center Live can do for you.
GETTING THERE

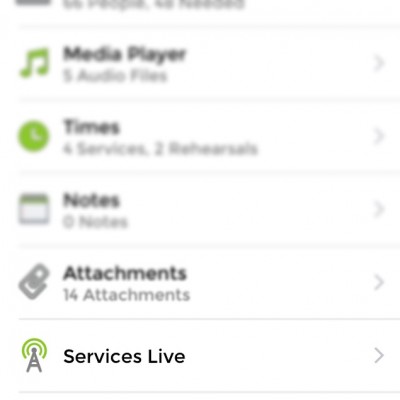
From the PCO web interface, on the right hand side of the service overview, you will see a button that says “Live.” Mobile users will find this option at the very bottom of their service overview with an option that says “Services Live.” Clicking on the respective buttons will open the PCLive interface.
THE INTERFACE
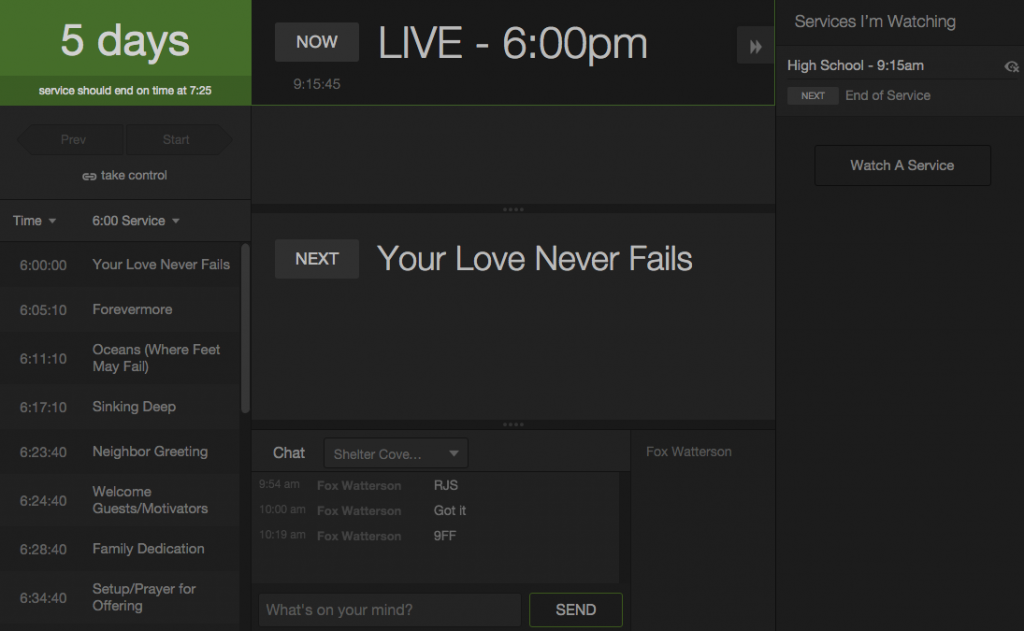
Once the interface is open, you will notice that it looks remarkable similar to this one.

This is the main PCLive overview, and it features various windows laid out for ease of viewing. The giant “NOW” and “NEXT” windows, a chat window with an active users list, countdown timer and service flow. There are also some hidden windows and options that we will access later, but first, let’s take a look at each window individually. For mobile users, the interface looks a little bit different. It displays only the main windows, and removes the two sidebars.
NOW

The “NOW” window displays what is currently happening right now in your service. This information changes based on input commands from one or more users as the service progresses. If your service hasn’t started yet, as in my example above, the name and time of the service will be displayed in the NOW window. Any notes that were entered into PCO about the item will be displayed beneath the title of what is currently in the NOW window.
NEXT

The “NEXT” window displays what’s coming up next in your service. This information also changes based on the input commands from one or more users as the service progresses. Any notes that were entered into PCO about the item will be displayed beneath the title of what is currently in the NEXT window.
CHAT

The chat window allows for instant messaging between the users currently logged into PCLive. There are tabs for the different chat windows that include everyone logged into PCLive from your church, or the users logged into or watching a specific service. you can see in my example above that I am the only user currently logged into PCLive from my church, as noted in the active users window on the far right side. You’ll also see tabs for “Shelter Cove Community Church” which will be the default chat window for everyone from my church who is logged into PCLive, as well as the “LIVE” tab which is the service-specific chat for everyone operating within our LIVE service.
Note: The labels of these tabs will be different for you! These labels change based on the name of your church, as well as the names of the services you have in PCO. If your church is called Trinity City Church and you call your main service MAIN, then your tabs will read “Trinity City Church” and “MAIN” respectively. If you have four different service types at your church, there is a way to have all four chat tabs available for you, but we’ll get into that later.
TIMER

The timer will either be displayed in green or red (or light gray and dark gray, for you colorblind folk), depending on whether the item that is in the NOW window is on-time or running over. The timer will count down to zero, based on the time of the item that has been intered into the PCO service plan. If your service hasn’t started yet, the timer will display a countdown to the time the service is scheduled to begin.

If your item runs over time, then the display will change from green to red and the timer will begin counting up. At the end of the service, if your service ran late, the timer will display the length of time that the service ran late. As you can see in my example, our previous services ended twelve minutes and forty-one seconds behind schedule.
CONTROL

The control window allows a user to take control of the service, select service plan view options, and progress the service either forwards or backwards. The user also has the ability to select which service is currently being displayed in the service plan window, and to show the time of the service in length of minutes or projected start and end times.


When a user takes control of the service, they are then responsible for progressing the service forward. At the end of each NOW item, they must press the “Next” button in order to move what is in the NEXT window into the NOW window and start the time for that item. If your service hasn’t started yet, the “Next” button is replaced by the “Start” button. Pressing that button will start your service, move what is in the NEXT window to the NOW window, and start the timer for that item.
Note: Nothing in PCLive happens automatically. A user MUST press the “Start” or “Next” buttons in order to progress through a service. The items will not shift from the NEXT to the NOW window unless a user manually presses that button.
SERVICE FLOW
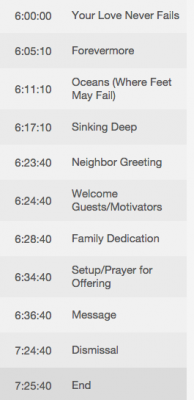
The service flow window displays the items involved in your service in sequential order. It displays the programmed start time as well as the title of the item as they have been programmed into PCO.
SERVICE WATCHING
If multiple services are happening simultaneously at your church, PCLive users have the ability to watch the other services that are happening. This is, however, a bit of a misnomer. Users have the ability to enter the service-specific chat of that service and communicate with the users there, but they don’t have access to the service plan or the ability to observe or take control of what is happening in the watched service’s PCLive.
 To watch a service, click on the double arrow at the far right of the NOW window. You will then have the ability to press the “Watch A Service” button.
 Doing so will bring up the other services that are
scheduled in your PCO plan. For my example, we have our high school and traditional services. You may then turn on watching of those services by pressing their respective buttons.

Once you have turned on watching of a service, you will notice that new tabs appear in your chat window for those services. You are now able to communicate with the users in those services.

TOP BAR OPTIONS

Hovering your mouse near the top of the window will activate a hidden top bar. This top bar has a couple more user-specific options for you. The first being the color of the PCLive interface. By default, the interface is set to light. If you work in a dark space, or otherwise choose to have a dark interface you are able to change to the dark interface by clicking on the dark option.
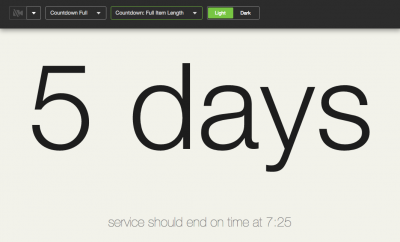
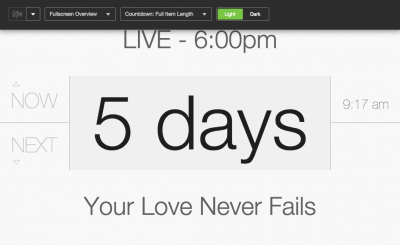
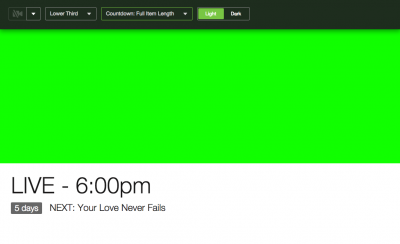
You are also able to change the layout to force PCLive to be a giant timer. This will remove all windows except for the timer, with some options also including the NOW and NEXT windows.
The final option that appears in this top bar is the ability to add a Livestream or Ustream embed code.

PROPRESENTER INTEGRATION
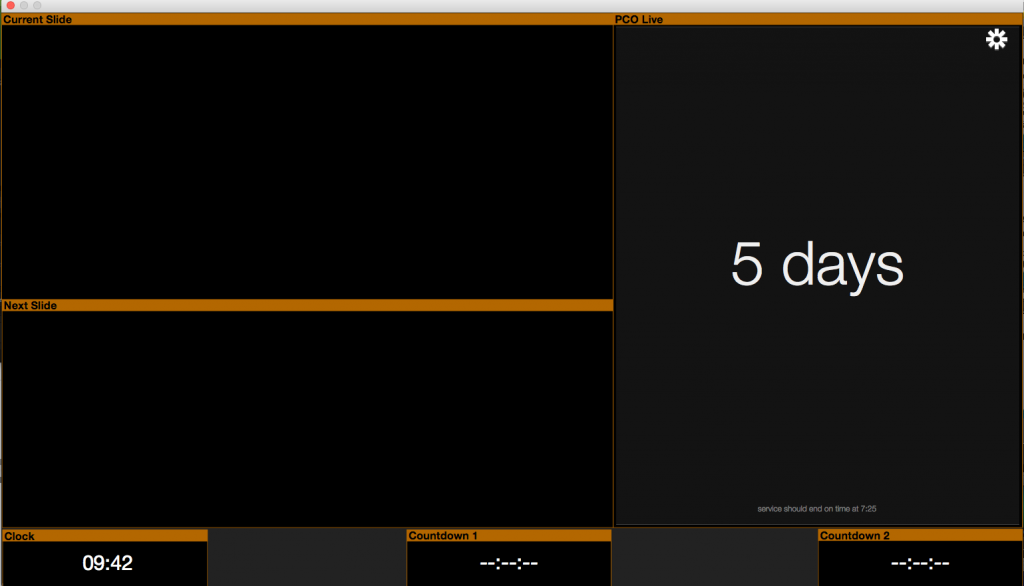
 With ProPresenter 6, we now have the ability to integrate PCLive right into our ProPresenter workflow. It has a standalone, pinable window, as well as the ability to display PCLive on the Stage Display. This is a huge bonus! To enable PCLive within ProPresenter 6, simply click on the “PCO Live” button on your toolbar. If it is no on your toolbar, you can add it for ease of access.
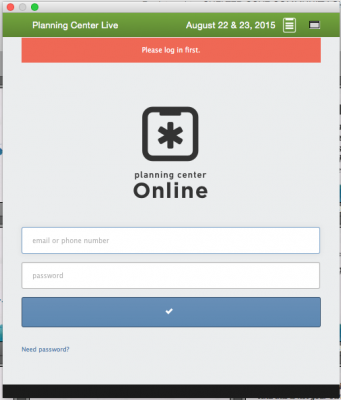
 This will prompt you to sign in to PCLive direct from ProPresenter. ProPresenter does NOT store your login credentials, so you will be asked to sign in each time ProPresenter is started, as well as each time a new service is selected. This is a security feature and is designed for your benefit. It’s a minor inconvenience to have to keep logging in each week, but it does prevent accident changes or deletions. Once you’re logged in, you are able to select which service you want to use by clicking on the service selection icon, and then selecting the appropriate service.
Once you have selected the service, the PCLive interface will appear on your screen. Like all windows in ProPresenter, it can either be pinned or moved to best suit your workflow.

 You can also add a visual representation of the PCLive interface to the Stage Display. Once you’ve opened your Stage Display configuration screen, be sure that Planning Center Live is checked. You have the option of selecting the light or dark display, and which Playlist you’d like to display. From there, you are free to resize and reposition that display anywhere on your stage display.
SERVICE RUNTIMES
At the end of the day, all of the times that were entered into PCLive will change on the PCO web interface. You can see by our example below that most of our times ran over, and the are now highlighted in red. This is broken down by service and item, so you can see exactly how long each item ran in each separate service. You can use this information to adjust service time expectations, and to hold yourselves accountable for timelines and execution.

As with all Planning Center tools, PCLive is remarkably easy to use. But if for some reason something isn’t working for you, please don’t hesitate to shoot me an email. I’d love to help you if I can. Planning Center customer service is top notch, however, and they are usually very quick to respond.

