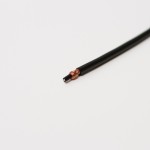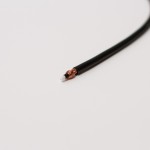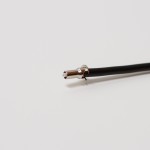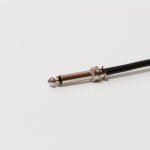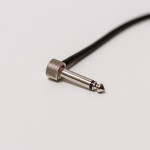
Lava Solderless Mini ELC patch cables are a fantastic product. They provide minimal tone loss and maximum space savings for your pedalboard, but putting them together can be very frustrating. After many failed attempts at making these cables, I finally found the method and I can now assemble my patch cables correctly every time.
My method is slightly different than some others I’ve seen online, but it works for me!
Step 1.
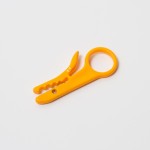
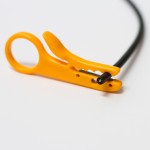
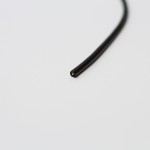
Using the included stripping tool, strip off about 1/2 inch of the outer black insulator. I usually use the largest notch on the stripping tool. Place the tool at the length where you want to make remove the insulator, and apply very light pressure so the blade makes the cut – be careful not to press too hard or you will easily cut through the braided conductor underneath. Rotate the tool around the wire once or twice, and pull the stripping tool toward the end of the cable to remove the insulator.
Step 2.
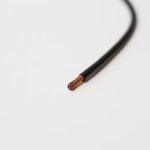
Next, fray the braided conductor a little and twist it around itself. This will reveal about 1/8 inch or so of the black center insulator. Note that there are two layers here before the center copper conductor – a black layer and a white layer. It is important to realize that the black layer is conductive, so to avoid potential issues, use the stripping tool to carefully remove 1/8 inch of the black layer.
Step 3.
Slide the shield sleeve over the end of the cable, then carefully place the plug over the shield sleeve, paying close attention to the center needle – it has to make good contact with the center conductor. Remove the plug and inspect the end of the cable to ensure the needle was placed correctly; if it looks good, put the plug back in place. Otherwise adjust the wire until it makes good contact. Next, while carefully holding the assembly together, bend the plug over 90 degrees and start screwing the cap in place. Use sturdy rubber gloves, a jar opener, or something similar to tighten the plug into the cap – don’t settle for just bare hand-tightening! You’ll not be able to get it tight enough and you’ll likely make your fingertips sore – I know from experience!
Step 4.
The only thing left is to check your work! Use a cable tester, or more commonly a handy muti-meter to make sure the connections are good and nothing is bridged.


